
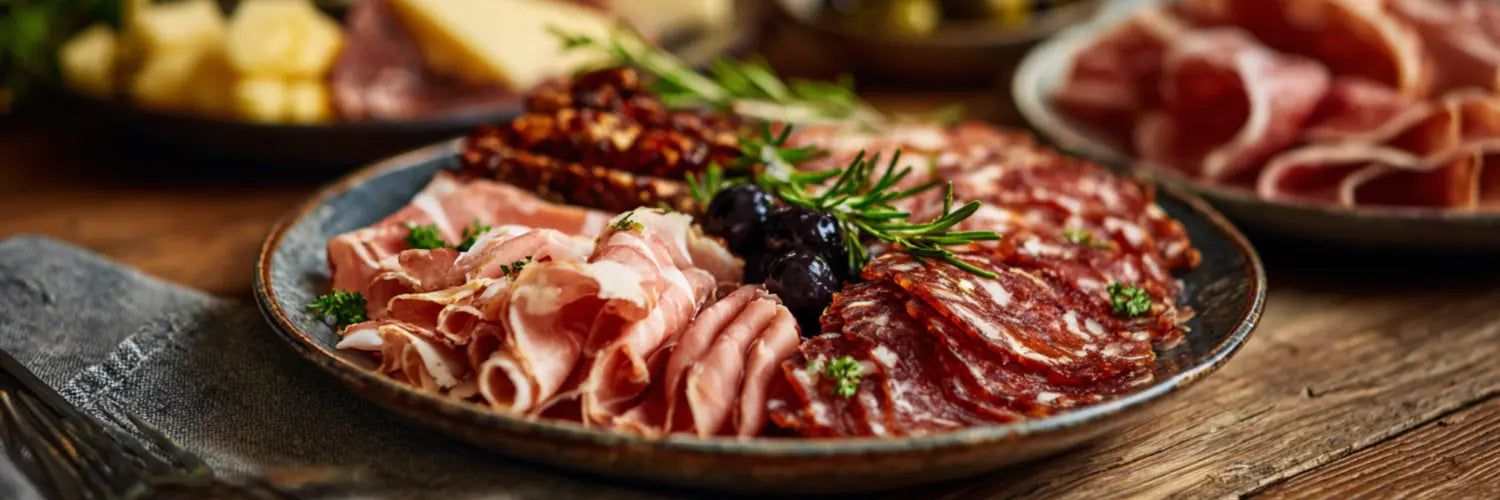



AI-generated illustration of thin pale-gold lacy Parmesan crisps on a plain plate

Snack

Parmesan Crisps

Published 29 October 2026 · Updated 29 October 2026

Freshly grated Parmesan melts into thin, lacy rounds with a nutty flavour and a salty snap. Spread the cheese evenly, bake only to pale gold and let the rounds cool before lifting them for a delicate nibble or soup accompaniment.

Not kitchen tested by The Black Farmer.
Serves 4
Prep 35 min
Cook 16 min
Total 51 min

Timing: Preparation plus cooling: about 35 minutes; oven baking: about 16 minutes; total: about 51 minutes. The preparation figure includes oven heating and cooling, not 35 minutes of active work before baking. Hands-on preparation and tray/rack handling total about 23 minutes, plus watching the oven; preheating and cooling are passive. Allow about 15 minutes to heat the oven, with 10 minutes of setup and grating within that time, then 8 minutes to shape. Allow 1 minute to load, bake 8 minutes, allow 1 minute to swap trays, bake 8 minutes and allow 1 minute to unload. Start each bake clock with the door closed, and each tray-setting clock only after the swap or unloading is finished. During the second bake the first batch sets for 3 minutes, is lifted for 1 minute and cools for 4 minutes; that overlap adds no extra elapsed time. After final unloading the second batch sets for 3 minutes, is lifted for 1 minute and cools for 5 minutes. Watch each bake from its fifth minute. Never rush handling to fit the clock: defer the first lift if it would clash with watching or removing the second tray, and lift the batches one at a time. Longer preheating, shaping, baking or oven handling shifts the stages that follow. Extra first-batch cooling can continue during second-batch setting and cooling; serve when the later batch is fully cool, not simply when the second bake ends. All timings are estimates.

Ingredients

  • Parmesan Reggiano (200g)

    Parmesan

    80g edible cheese, weighed without hard rind

    Freshly grate into short fine shreds; divide into sixteen 5g portions, eight per tray. Buy one 200g block, not 200g of grated recipe cheese. Keep unused cheese refrigerated according to label; the gross 120g balance includes any rind, so edible leftover weight is not guaranteed. Contains milk; do not describe as vegetarian.

    £6.50

Adds 1 items across 1 products — £6.50 total.

Pantry ingredients such as oil, salt and herbs are not included.

Method

Heat the oven and prepare the cheese

Heat the oven to 200°C/180°C fan/gas 6 with a shelf in the centre; allow about 15 minutes or until fully heated. During that time, allow about 10 minutes to line two cold flat baking trays, each with at least 28 × 38cm usable flat area, with oven-safe non-stick baking parchment rated for this temperature. Keep paper within the tray edges. Set out scales, a small-hole shredding grater, a thin palette knife, oven gloves and a cooling rack. Cut away the hard rind from the Parmesan, then weigh 80g of edible cheese and grate it into short fine shreds, not dusty powder. Refrigerate the unused block according to its label. No oil or added salt is needed.

Make sixteen thin rounds

Allow about 8 minutes to divide the grated Parmesan into sixteen 5g portions, eight on each cold tray. Arrange four rounds along the long side and two across the short side. Spread each portion into an even circle about 6cm across, with no thick mound in the centre; leave at least 3cm between the raw circles and space around the tray edges for spreading. Keep all sixteen portions the same thickness. Leave the second tray out of the oven while the first bakes.

Bake the first tray

Allow about 1 minute to put the first tray on the centre shelf with oven gloves and close the door. Start the first bake clock once the door is closed. Bake this tray alone for about 8 minutes, watching from 5 minutes onwards without walking away. The cheese should melt into a thin lacy disc and turn pale gold across the centre as well as the edge. Start taking it out sooner if ready; do not wait for dark brown edges. If still pale and wet-looking, continue in 1-minute checks until lightly golden. The bake clock stops when you start taking the tray out; allow the separate swap time in the next step.

Bake the second tray while the first sets

Allow about 1 minute for the swap: wearing oven gloves, take the first tray out, put it safely on a heatproof rest, load the second, still-cold tray onto the centre shelf and close the door. Start the second bake clock and the first tray-setting clock after the swap is complete. Bake for about 8 minutes with the same early watching and light-gold cues; watch continuously from 5 minutes into this bake. Meanwhile, leave the first crisps undisturbed for about 3 minutes, until they hold together when eased at an edge. Allow about 1 minute to lift them gently onto the rack without stacking, then about 4 minutes to cool there. Only start lifting if you can finish before the second bake reaches 5 minutes; otherwise leave them on the tray until the second tray is safely out. Never handle both trays or lift both batches at once. If the first crisps resist lifting, let them set longer; if they still bend on the rack, let them cool longer. Their cooling can continue while the second batch sets and cools.

Cool the second batch and serve

When the second crisps are pale gold, stop the bake clock and allow about 1 minute to take the tray out with oven gloves, set it on a heatproof rest and close the door. Start its tray-setting clock after this unloading is complete. Leave the crisps to set for about 3 minutes, then allow about 1 minute to lift them to the rack and about 5 minutes to cool completely. They should feel dry and brittle rather than warm and bendy; allow longer if necessary. If either batch still needs lifting, do one at a time, attending to the oven first and letting the other batch wait safely on its tray. Serve only when both batches are fully cool: extra cooling for the first batch does not lengthen the recipe unless it finishes after the second. Serve four small crisps per person as a nibble, or offer alongside soup. Keep them dry and separate from hot soup until eating, since steam softens them. Best served on the day.

Serving Suggestion

Serve as a small nibble with cucumber batons and cherry tomatoes, or alongside Spiced Carrot and Red Lentil Soup. Add a crisp to each bowl only as you start eating so steam does not soften it. Vegetables and soup are optional accompaniments with their own ingredients, allergens and preparation times; they are not included in the crisp quantities or timetable.

Frequently Asked Questions

Why do I need to grate cheese from the block?

Short fine shreds spread into a thin even layer. Powdery shelf-stable grated cheese and coarse thick shreds may melt differently; grate the weighed edible cheese from the block.

Why are the crisps soft when they leave the oven?

Hot melted cheese is flexible. Let it set on the tray, then cool completely on the rack before judging the snap. Pale wet centres may indicate a thick patch or insufficient baking, while dark edges suggest uneven thickness or too much heat. Re-baking can burn the edges before the centre dries.

Can I put both trays in together?

Bake one tray at a time on the centre shelf so each receives similar heat. Two shelves can brown the crisps unevenly; the timings here do not cover baking both trays together.

Is this suitable for vegetarians?

Do not assume so. Traditional Parmesan uses animal rennet, and no vegetarian suitability is claimed for the selected product. A vegetarian hard cheese may melt differently. Contains milk.

Why buy a 200g block for an 80g recipe?

The shop unit is a 200g block; only 80g weighed after removing hard rind goes into the crisps. The remaining gross weight includes any rind. Keep the unused block as directed on its label rather than grating it all into this recipe.